
· Updated
How to Start Online Amazon FBA Arbitrage: A Step-by-Step Guide for Maximizing Profits
 Max VershininFounder of Arbitrage Hero
Ask AI to summarize this article:





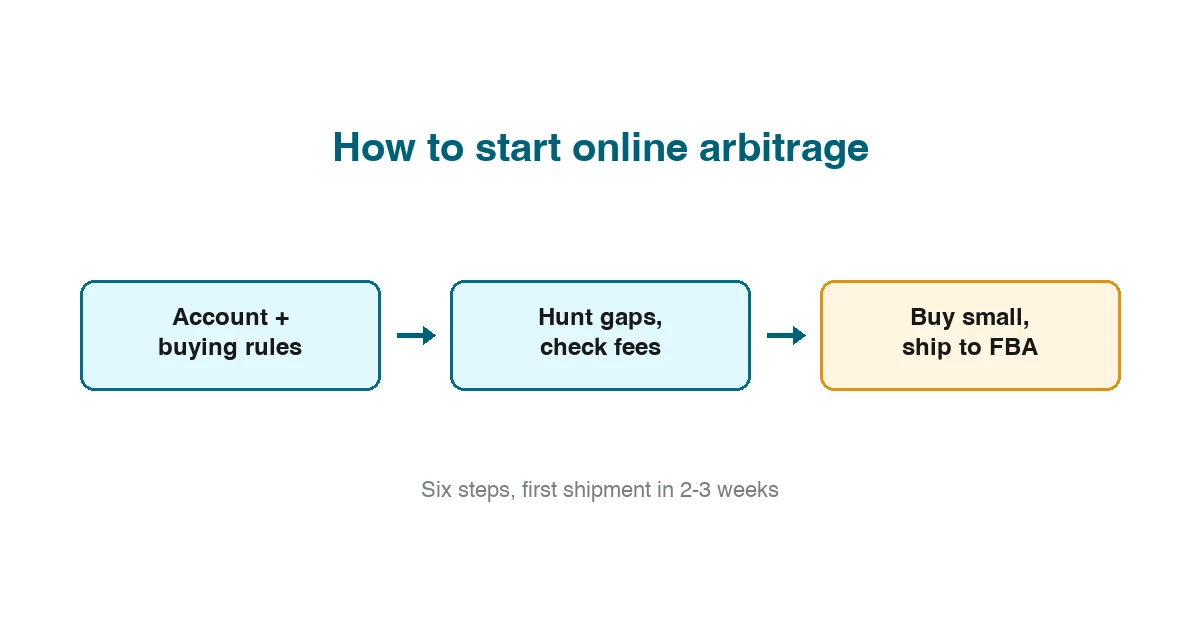
Short answer: starting online arbitrage is six concrete steps - open the seller account, write down your buying rules, hunt for price gaps, check every candidate against fees and history, buy a small first batch, and ship it to FBA. Most people can go from nothing to first shipment in two or three weeks, and the expensive mistakes almost all happen when a step is skipped rather than done badly.
This guide is the sequence itself. If you are still deciding whether the model is for you, read what online arbitrage is and whether it is still worth it in 2026 first - this article assumes you have decided and want the how.
Step 1: Open the Amazon seller account
Register at sellercentral.amazon.com with your ID, a bank account and a card. Expect verification to take from a day to a week - start it before you go shopping, not after, so stock never waits on paperwork.
Amazon offers two plans: Individual, paid per item sold, and Professional at a flat monthly rate. The honest arithmetic: Individual is fine for testing the waters, and once you sell more than roughly forty units a month the Professional account is cheaper - and it unlocks things a growing seller needs anyway, like Buy Box eligibility and bulk tools. Start Individual if unsure; switching later takes minutes.
Step 2: Write your buying rules before you shop
Decide, in writing, before you look at a single deal: your minimum ROI, your minimum absolute profit per unit, and the fastest sales rank you will accept. Common first-timer rules are 30% ROI or better, at least $3 profit per unit, and demand strong enough that stock sells within a month or two.
The reason to do this first is psychological, not mathematical. Once you are looking at a shiny 40%-off deal, the deal argues for itself and your standards negotiate downwards. Rules written in advance are the only version of you that the deal cannot talk into anything.
Step 3: Hunt for your first price gaps
Start where discounts concentrate: clearance sections of big-box retailers, outlet pages, holiday promotions. Compare interesting products against their Amazon price and shortlist anything with a visible gap. Do your first hunts by hand - slow is fine, because the point of the first weeks is learning what a good deal looks like, not volume.
When the manual hunt starts feeling like the bottleneck - and it will, since one product takes minutes to check and a clearance section holds thousands - that is the moment sourcing software earns its keep, scanning hundreds of stores and returning the candidates with the numbers already attached. Not before: the tool multiplies judgement you have to build first.
Step 4: Check every candidate like money depends on it
Three checks per product, no exceptions, because it does:
- Fees. Run the exact buy and sell price through the FBA calculator. Amazon's cut is roughly a third of the sale price once referral and fulfilment fees land, and the conditional fees can take more. A deal that survives the calculator is a deal; one that only survives mental math is a guess.
- History. Check the price and sales-rank history, not today's snapshot. The two classic first-timer traps - a gap against a temporarily spiked Amazon price, and demand that only existed for one week in November - are both invisible in a snapshot and obvious in a chart.
- Eligibility. Confirm you can actually list the product before paying. Gated brands and categories are a before-purchase check; discovering them after the stock arrives is the most avoidable loss in the whole model.
Step 5: Buy small, keep the receipts
First purchases should be embarrassingly small - a handful of units across two or three different products beats one confident case of a single product, because you are buying information as much as inventory. Whatever you buy, keep the retail receipts and order confirmations filed: they are your answer if a brand ever challenges the authenticity of your stock.
Step 6: Ship to FBA and price like a professional
Create the shipment in Seller Central, label the units as instructed - or pay Amazon a small per-unit fee to do the prep - and send the box in. Once stock is live, price at the level the market actually supports rather than undercutting to the bottom: joining an existing listing means the demand already exists, and a price war you start is a price war everyone loses. As stock and listings multiply, automated repricing takes over this chore.
How much money do you need to start?
A workable starting budget is a few hundred dollars: enough for several small test batches plus the account and prep costs, with the same cash recycling as stock sells. More capital accelerates the flywheel but does not change the sequence - and in the learning weeks, small capital is a feature, because every early mistake is priced in single units. The one real cost of starting tiny is patience: profits stay small until the lessons are learned and the reinvestment loop has turned a few times.
Which mistakes kill first-timers?
The full list has an article of its own, but three account for most of the damage: buying on the sticker gap without running fees, trusting a price snapshot instead of history, and going deep on one product before its demand is proven. All three are prevented by the steps above - which is the actual argument for following the boring sequence.
Where to go from here
Once the first cycle completes - bought, shipped, sold, paid - the game becomes repetition and refinement: better filters, wider store coverage, and a growing shortlist of replenishable products that turn one find into recurring buys. And mind the calendar: if you are starting in the second half of the year, the Q4 guide explains why the next quarter is the one worth being stocked for.